Stereo Microphone Techniques for the Classical Guitar
Stereo recording is the technique that involves two microphones that due to the captures the time differences of sound waves coming from a source, which gives depth and space to the recording. Similar to how our ears and brains record and process sound.

The Classical Guitar, albeit small, is an instrument with a complex sound and subtle peculiarities; and as such, it sounds better when is captured in stereo. Various stereo recording techniques have been developed since the early 1940s; each with distinct advantages and disadvantages.
If you ask, which is the best microphone technique for capturing the classical guitar in stereo, I'm afraid that the answer is not so simple. Room size, acoustics, the instrument, and the purpose of the recording, play a significant role; as well as our individual preferences.
In this article, I describe the most common stereo techniques from the point of you of a classical guitar recordist. I discuss their strengths and weaknesses, as well as prefered uses for each setup.
Note: This article is a work in progress; X/Y, M/S, and NOS setups will be added in the following weeks.
Spaced Pair Setups
AB Stereo

AB Stereo Array
The AB Stereo recording technique is based on a pair of spaced Directional or Omnidirectional microphones and provides in a pleasing and accurate capture with useful spatial information.
For home recordings, AB Stereo is one of the best options as it is easy to implement and get a consistent sound. A pair of Cardioids is usually preferred as they can successfully attenuate the room ambience.
Omnidirectional microphones capture the true low-end of the instrument though and have no proximity effect. You can position them closer to the source in a small room, or further away if the acoustics allow.
Application
Use a (minimum) distance of 20cm between the microphones for the most natural result. You can use a greater width, as the distance from the instrument increases, for a wider capture. I prefer a width between 30 and 40cm, for small/medium rooms, and up to 60cm for large halls.
If you position the AB Setup close to the guitar, you should avoid placing any microphone opposite to the soundhole, to prevent boominess. A microphone on each side of the soundhole will give the most balanced sound, off-axis towards the fretboard for more articulation or opposite of the bridge for a fuller sound.
The microphones are most commonly parallel to each other; but, since most microphones show a degree high-end directivity, we can fine-tune their response by angling them on the horizontal plane. If you aim them slightly outwards, you can attenuate some of the unpleasing mechanical noises of the guitar (fretting noises, squeaking, nails, etc.) You can also angle them slightly inwards to reject some of the room reflections.
The directional information as captured by an AB Stereo is not as accurate as of the coincident and near-coincident setups. This attribute can be an advantage if the performer moves a lot and assists in avoiding off-balanced results. I hardly ever pan the channels hard left and right, to preserve the integrity of the central image of the classical guitar.
The biggest drawback of the AB Stereo is its leaser compatibility with MONO playback (for example, a youtube video played on a smartphone); as a result, comb-filtering may be introduced.
Suitable Polar Patterns: Omni, Cardioid
Advantages
Easy implementation
Pleasing sound
Useful spatial information
Control of room ambience
Disadvantages
Playback in MONO may introduce comb filtering
Not the most accurate directional information
And here is a real-world example of the use of AB Stereo on Classical Guitar in a professional setting. I used a pair of Austrian Audio OC818 microphones set in a Custom Polar Pattern that combines the best of Cardioid and Omni qualities. The spacing of the microphones is 26cm. The goal was to capture the pure tone of my Angela Walter guitar together with the incredible sounding main hall of the Musikbrauerei in Berlin.
Near Coincident Setups
ORTF Stereo Technique

ORTF Stereo Array
Developed in the 1960s by the Office de Radiodiffusion Télévision Française, the ORTF is a stereo microphone configuration that with the use of two near coincident Cardioid microphones mimics the human ears.
The spacing of 17cm and 110° angle emulate respectively the distance between our ears and the shadow effect of the human head. The result is a realistic depiction of the sound field, both in directional and spatial areas, as well as a reasonable Mono compatibility.
Application
A pair of first-order Cardioid condensers is required for a proper ORTS, 17cm between the capsules and 110° angle. Other directional patterns can be used with respective changes in the width; for example, Schoeps suggests a distance of 21cm for the MK22 Open Cardioid capsules. You can also adjust slightly both the spacing and angle for the best sound.
The most critical aspect of ORTF is to balance the direct and diffuse sounds, as there is not much you can do in post-production afterwards. As always a minimum distance of 50cm is advised to avoid boominess, but I have had better results with a distance of 80cm to 110cm. At greater distances, a low-end boost might be required to compensate for the loss of low-end of directional microphones.
The ORTF main application is for large-scale sources, like orchestras and choirs. If positioned in a close distance, you might experience loss of focus with a perceived hole in the centre.
Consequently, depending on the room acoustics, the ORTF stereo array may be proved problematic in a home recording setting. As you might either have to place the microphones further away from the instrument, capturing the unattractive ambience of a small room, or suffer a smeary sound if you position the array closer.
Suitable Polar Patterns: Cardioid
Advantages
Realistic stereo field
Reasonable Mono compatibility
Disadvantages
Perceived Hole in the middle and loss of focus if positioned close to the source
Coda
Distance
The distance of the microphones to the source depends purely on the room size, the instrument, and the setup. As a rule of thumb, keep it smaller than that of the microphones to the front and side-walls. But never closer than 50cm.
Directional microphones have a sweet spot where the proximity effect eliminates, and the low-end frequency response becomes linear. If the microphones are not in the ideal position, you might need to apply a Low-Shelf EQ (boost or cut). Omnidirectional microphones have a better low-end response regardless of the distance but capture sound from all directions. So, be careful not to end up with an overly roomy recording.
Height
Most classical guitarists angle their guitars somewhat upwards to push the sound further back (and fill a concert hall). Correspondingly, the height of the microphones depends mainly on the distance to the guitar. The closer they are to the instrument the lower they need to be. If you place the microphones further away from the guitar, they need to be higher to retain definition and accuracy.
The sound travels as an impulse rather than a beam though, so there is some room for experimentation. If you prefer a fuller sound, you can position the microphones slightly lower. Contrarily, you can increase the clarity if you put the microphones higher. Use your ears and taste.
Vertical Angle
You can also exploit microphone angles in the vertical plane; you can increase clarity if they are on-axis with the top of the guitar, or aim them at a higher point to attenuate some of the high-end and undesired mechanical noises from the strings and nails.
About the Samples
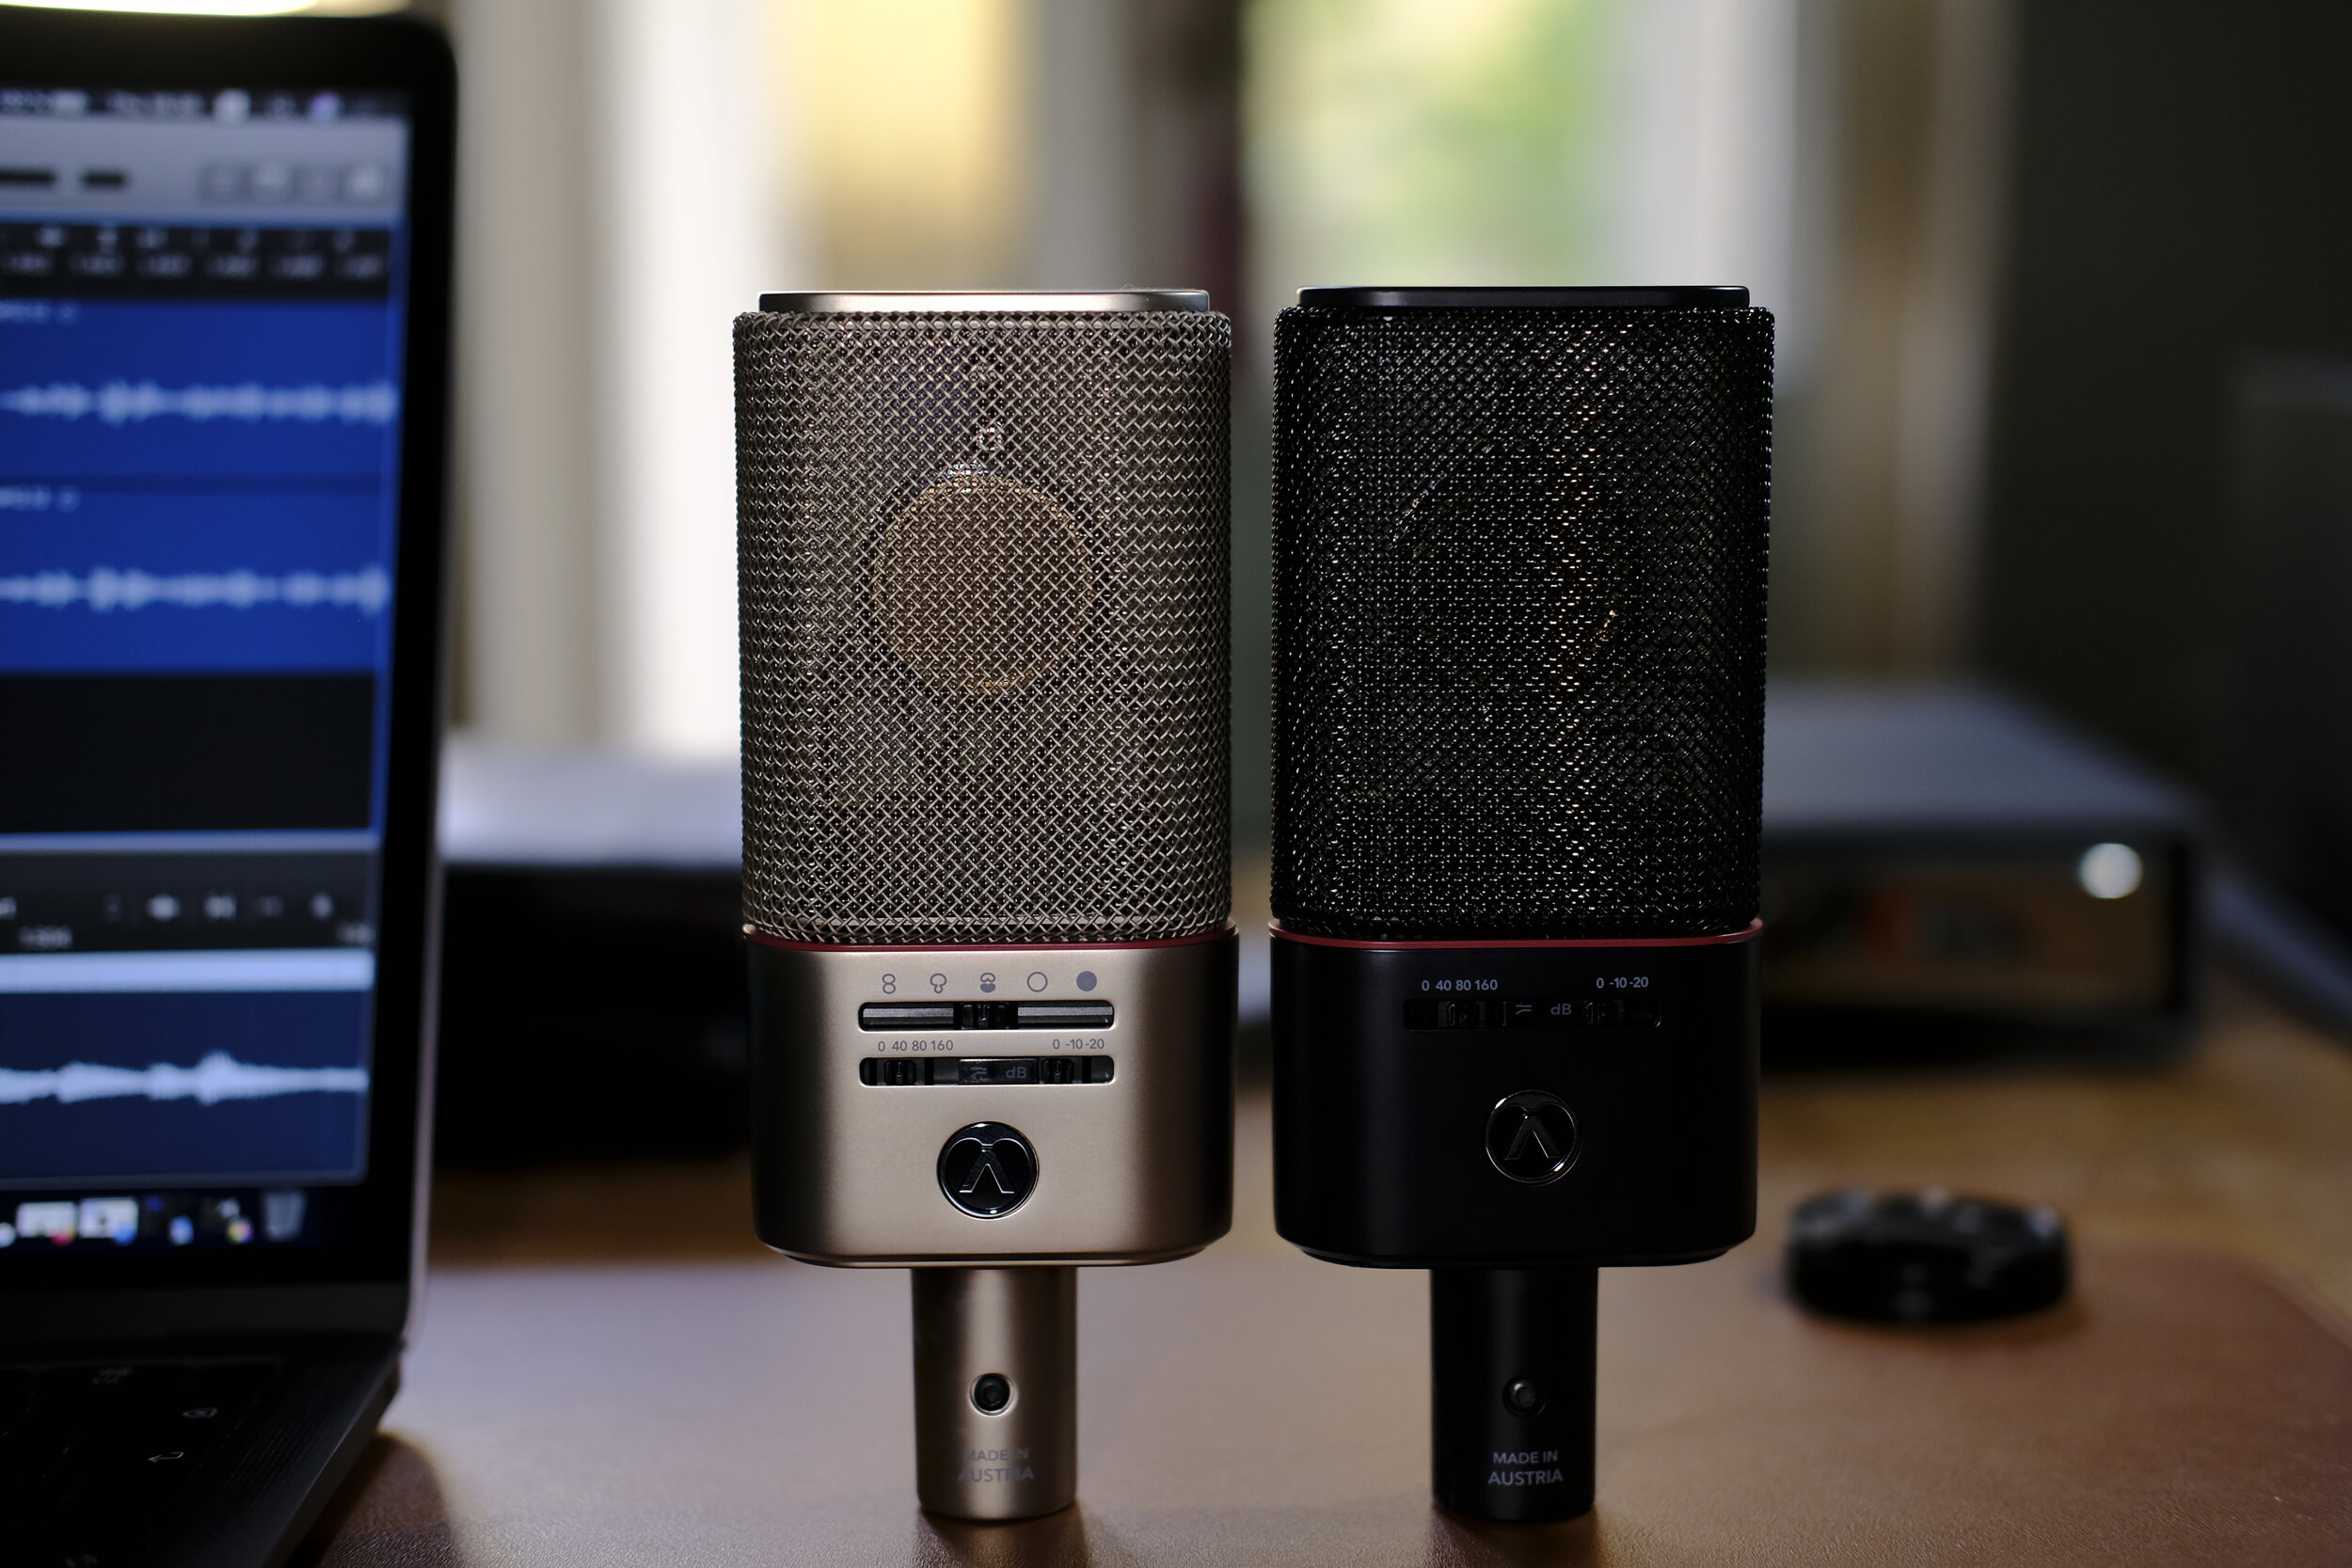
Austrian Audio OC818 and OC18
I recorded all the examples with a pair of Austrian Audio OC818. I choose the OC818 for their clear sound, low self-noise, and multi-pattern options. The height of the microphones was 103cm (centre of the capsule), and the distance from the guitar was 90cm.
The signal chain was an AEA TRP2 Microphone Preamp into an RME ADI-2 Pro FS ADDA Converter.
I didn't provide samples in other distances as they would only give cues about my room and instrument, without adding value to you.
Closing thoughts
Recording the classical guitar is a meticulous exercise. Regardless, if you want to record your next album, a video for youtube, or your performances to share with your friends, it is an utterly satisfying process. It is also a reason to practice harder and become a better guitarist.
Before your press "rec" for the first take, allow some time to find the best position, height, and angle. It can be a matter of having an excellent recording or rendering the whole session useless. Small changes in this context may have dramatic results; they act as a physical equalizer.
There have been quite a few times that I had to re-record a performance because of a poor decision, or having to rely on heavy equalization to make it acceptable when it was (almost) impossible (or expensive) to record again at the same location.
I hope that this guide will be helpful in your recording adventures in the quest of capturing the best qualities of your instrument and room.