
A Comprehensive Guide to Gain Staging, Recording, Mixing, and Mastering Levels for Classical Guitarists, Part II
Part II - Mixing & Mastering Levels
Embarking on the musical voyage of recording classical guitar involves numerous steps, each with its own significance. We've previously explored gain staging and setting recording levels - fundamental processes that lay the groundwork for a pristine, high-quality recording. Our focus now turns to two intricate yet essential aspects: setting the mixing and mastering levels correctly.
The mixing phase is where we ensure each microphone used in capturing the performance is balanced and clear, contributing to a rich and harmonious soundstage. Following this, we dive into mastering - the final step that optimizes the recording's levels and tonal balance for various playback systems and streaming platforms.
In Part II of this series, we'll delve deep into the processes of mixing and mastering levels, providing insights to help you polish your classical guitar recordings to their fullest potential.
Mixing Levels
In the mixing stage, we blend and balance the individual elements of our recording. This stage is critical in ensuring the complete richness of the guitar is captured, with no aspect dominating the others. This balancing act becomes especially crucial when recording classical guitar, where we often employ multiple microphones to capture a comprehensive sonic image of the instrument.
Balancing the Multiple Microphones
During my recording sessions, I often employ multiple microphones, each positioned at different locations to capture a broad spectrum of the guitar's tonality. Each microphone contributes a unique facet to the overall sound, and blending these distinctive 'voices' is key to creating a robust and rich recording.
When using the AB Stereo technique, I often process both microphones together, maintaining the natural balance they create. However, it's not uncommon that I might apply additional EQ or other treatments to each microphone separately, if there is a problem that stands out.

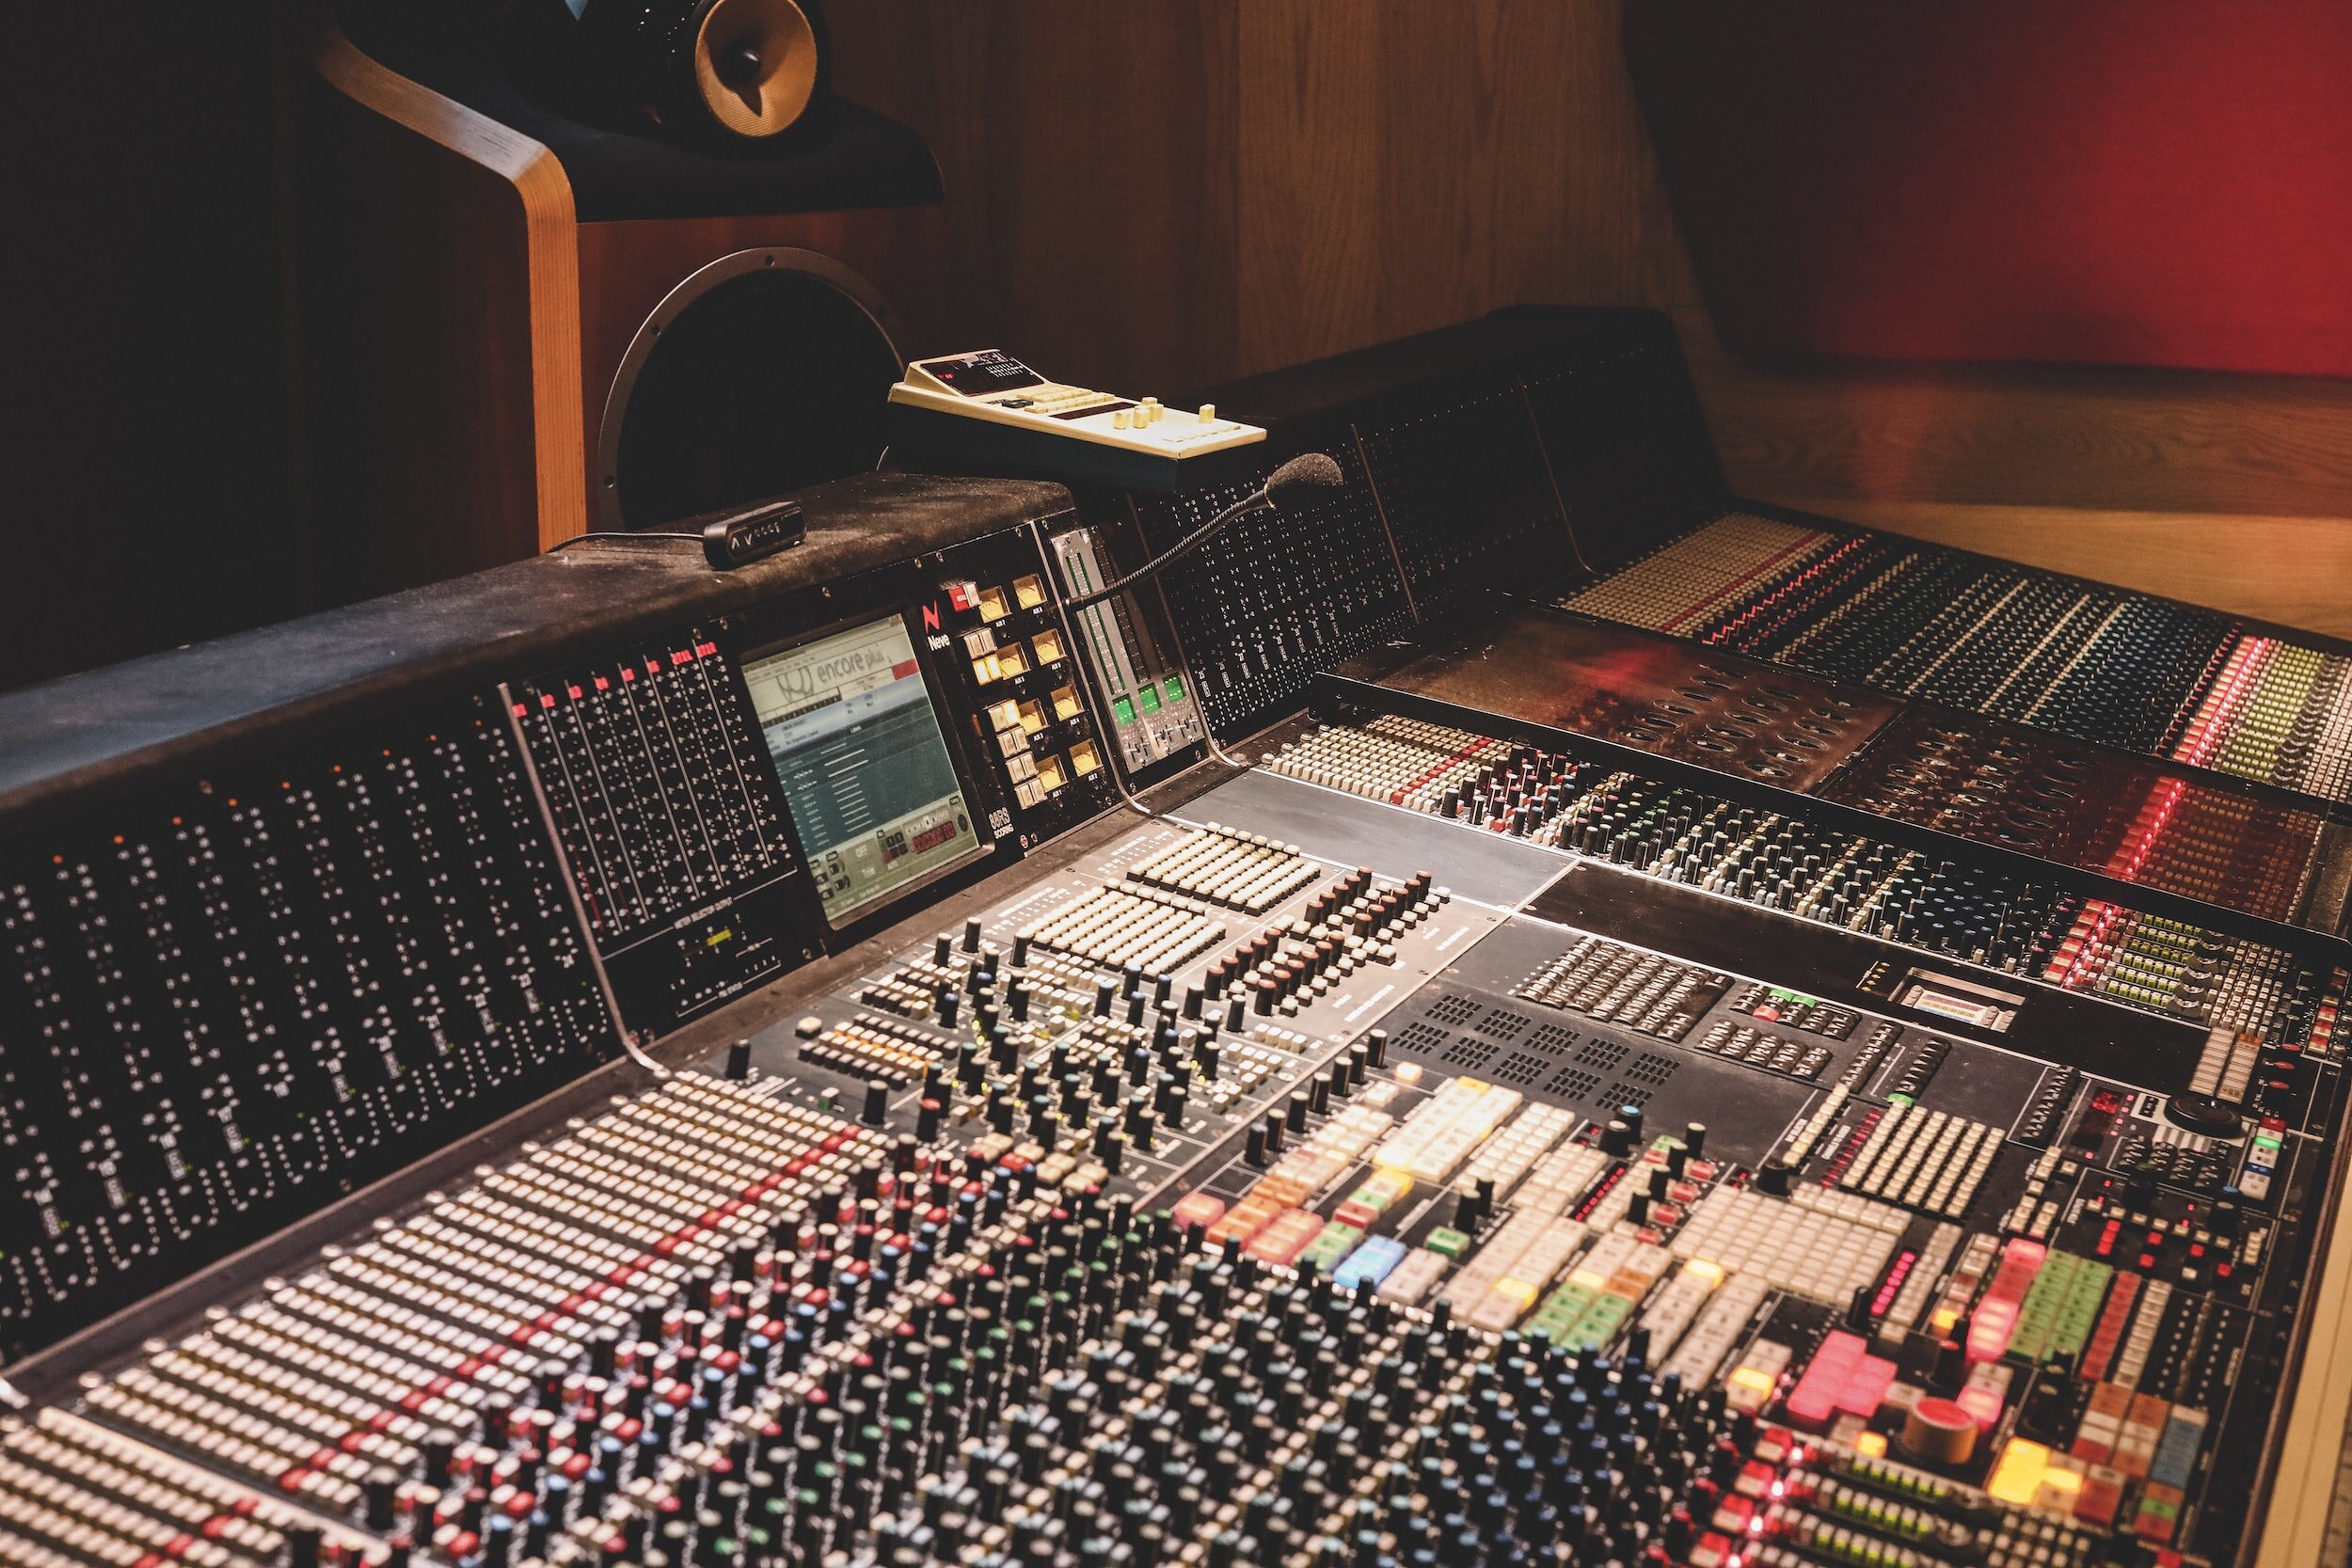
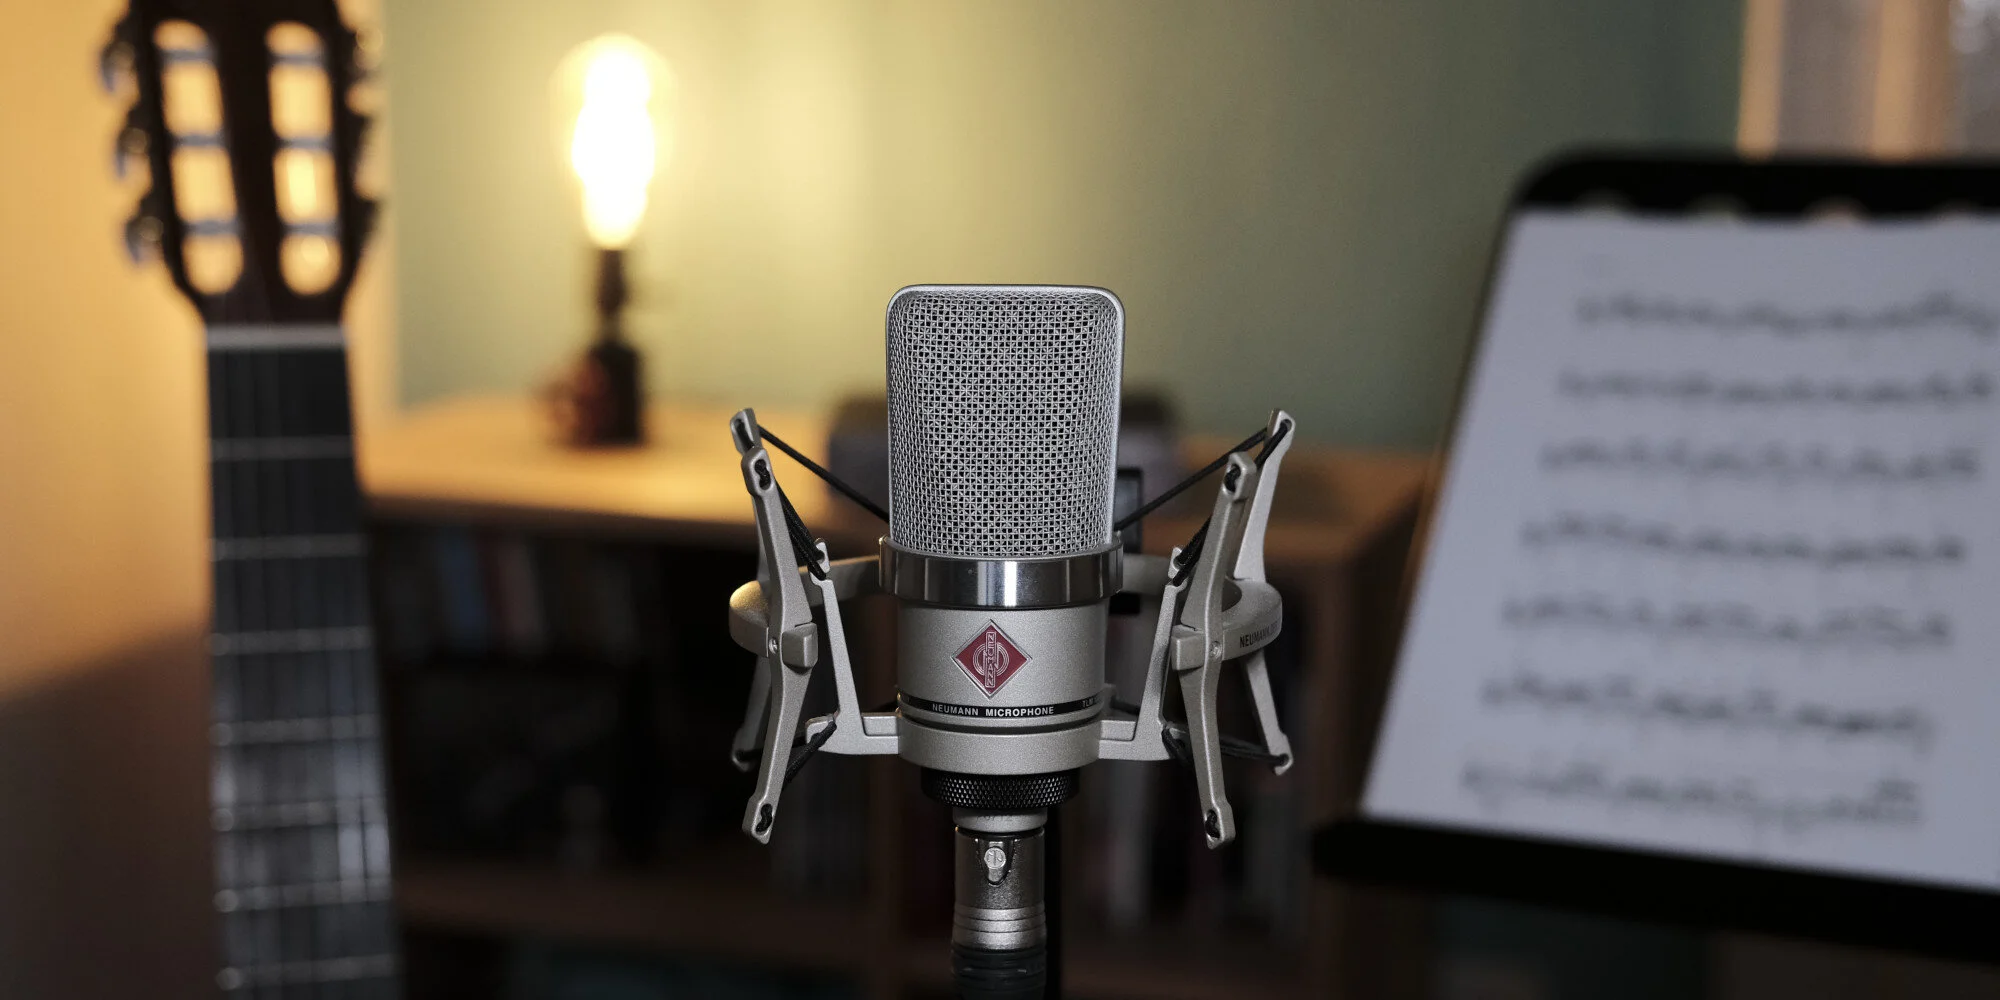
M/S Stereo with Neumann TLM 193 & 170, each microphone gets different treatment
For more complex microphone arrays, I apply thorough care to each microphone, treating each channel individually. This might involve applying EQ adjustments or other processing to each track separately, to ensure they blend harmoniously together. For a classical guitar, I aim for a mix level of around -18 dBFS, with peaks no higher than -6 dBFS.
It's crucial to monitor each channel's levels, ensuring that none are too loud or overdriven. This helps prevent potential distortion and maintains the integrity of the recording, leading to a balanced and natural-sounding result.
Using Reference Tracks to Maintain Perspective
Working extensively on my mixes sometimes makes me overly familiar with the material, leading to a potential loss of objectivity. To counter this, I utilize reference tracks. These are, essentially, sonic benchmarks that guide me in crafting the depth, presence, and dynamic contrast of my guitar recordings. My advice is to make a list of your favourite-sounding classical guitar recordings and occasionally compare them to your mix.
While the aim is not to mimic these references, juxtaposing my mix with these standards helps regain perspective and fosters fresh insights. This practice ensures that my recordings can confidently stand alongside commercially produced tracks, adding an invaluable layer of quality control to the mixing process.
Preserving the Dynamics: Taming Peaks Without Sacrificing Expressiveness
Classical guitar draws much of its expressive power from subtle variations in loudness and intensity. To honour this characteristic, I strive to preserve the instrument's natural dynamic range as much as possible in my mixes, generally avoiding the use of compression, which can flatten these dynamics and yield an unnatural sound.
In some cases, however, a track may have rogue peaks that cause distortion. To prevent this, I turn to a limiter, specifically the FabFilter Pro-L2. This limiter tactfully reins in these peaks, maintaining the overall dynamic shape of the performance without introducing the potential adverse effects of compression.

High-quality studio monitors for accurate listening
There are exceptions, of course. If I'm faced with a subpar recording that needs salvaging, or if the classical guitar is part of an ensemble mix, I might cautiously introduce compression to help the guitar find its place among the other instruments. But for solo classical guitar recordings, my preference is always to allow the instrument's natural dynamics breath. The true beauty of the classical guitar, after all, resides in its subtleties and nuances.
Mastering Levels: The Final Adjustments to Your Classical Guitar Recording
Mastering is the last but certainly not the least important stage in music production. It's in this phase that we delicately adjust the overall levels and tonal balance of the mix, making sure it's polished and cohesive for listeners. In classical guitar recordings, mastering's primary goals are to ensure that the recording sounds its best across various playback systems and to prepare it for distribution on streaming platforms. While mastering doesn't drastically transform the recording, it refines it, solidifying its sonic integrity and ensuring it's ready for the world to hear.
Deciphering LUFS for Consistent Perceived Loudness
A significant aspect of mastering is understanding and correctly using LUFS, or Loudness Units relative to Full Scale. Unlike Peak or RMS levels, which measure the absolute values of audio signals, LUFS take into account the human perception of loudness. In other words, they measure loudness as our ears perceive it.
This is based on the fact that human hearing is frequency-dependent. We are more sensitive to some frequencies compared to others, especially in the mid-range. LUFS measurements integrate these psychoacoustic principles, providing a more accurate measure of perceived loudness. This ensures recorded music retains its intended impact, regardless of the playback scenario, providing consistency across different platforms and distribution methods.

Youlean Loudness Meter is an essential tool
A reliable loudness meter is a vital tool for effective mastering. My choice is the Youlean Loudness Meter, a free tool that's become an invaluable asset in my mastering toolkit as it provides accurate LUFS measurements, peak levels, and true peak readings, all crucial for mastering.
The Youlean Loudness Meter also gives us the ability to monitor the loudness over time, providing a clear, visual representation of the dynamic range throughout our recording. This information is crucial when making adjustments during mastering.
Aiming for Optimal Loudness
Mastering is not about winning a loudness war. Instead, it's about achieving a comfortable and consistent listening level that provides an enjoyable experience across various listening scenarios. I typically aim for a loudness level of -14 LUFS. In addition, I ensure that my recordings remain below -1dB True Peak. This practice avoids potential clipping and distortion, preserving the natural dynamics and integrity of the recording.
Striking the Right Tone, One Level at a Time
The journey towards a professional-sounding classical guitar recording is a meticulous one. It calls for a keen eye (and ear) at every stage of the process, from capturing a clean signal, through balancing your recording and mixing levels, to the final act of polishing your track through mastering.
But it not just about mastering the technicalities. It's a delicate dance between the science of sound and the artistry of music. We're not simply chasing perfect readings on a meter. Our true pursuit is to transpose the nuances, emotions, and soul of the performance into a recording that touches the heart of the listener.

A Comprehensive Guide to Gain Staging, Recording, Mixing, and Mastering Levels for Classical Guitarists
Part I - Gain Staging & Recording Recording
As we, classical guitarists, have ventured into the world of recording, we've faced the intriguing challenge of capturing our instrument's perfect sound. After meticulously learning about different microphones, mastering the art of microphone arrays, and optimizing our room for the ideal recording tone, we often feel ready to immortalize our masterpiece. Yet, beneath this readiness lies a vast universe of elements that we need to fine-tune to achieve an optimal recording. Among these, understanding gain staging, recording levels, mixing, and mastering levels is crucial.
While there's a plethora of information available on the internet, it can often feel like trying to find our way through an intricate maze, riddled with confusing technical jargon and conflicting advice. In light of this, I've decided to consolidate my personal insights, specific tips, and favorite tools into this comprehensive guide. My aim is to shed some light on these crucial aspects and assist you in capturing and polishing your classical guitar recordings to perfection.
dB Trivia
But first, we have to familiarize ourselves with decibels or dB. These logarithmic units are used to measure the intensity of audio signals. The world of digital audio can be treacherous if you're not careful - one misstep could lead to clipping or distortion, which occurs when the audio signal exceeds 0 dBFS (decibels relative to full scale). Attention to detail is pivotal.
Recording Levels & Gain Staging: Laying the Foundation for a Great Recording

The journey to a great recording begins with understanding gain staging. Gain staging is a process that ensures a clean, distortion-free recording while leaving enough breathing room for further processing during post-production. This involves setting optimal levels of audio signals at each stage of your recording chain. In the context of home studios, this often involves just your instrument, an audio interface, and perhaps some ITB (In The Box) processing.
However, even in this simplified chain, ensuring good gain staging remains crucial. This starts with the sound of your instrument in the room. You'll need to ensure your guitar's sound is clear, resonant, and free from any unwanted noise or interference. Careful placement of the microphones is also key.
Each microphone and each placement will give a different color and character to your recording. When setting up my microphones, I experiment with different placements and distances. Finding the sweet spot is an art - it should capture the guitar's natural tone while minimizing room noise. Adjusting the distance and angle of your microphones can help control not only the tone but also the levels: too close and the sound might be overly loud or boomy; too far and the signal could be weak, leading to a noise-prone recording when amplified. Have a look at my Stereo Microphone Techniques for the Classical Guitar guide..
The next step in the chain is the audio interface. This is where the acoustic energy, the sound waves your guitar produces and your microphones capture, are converted into digital signals your computer can understand.
Your audio interface typically has preamps which amplify the microphone's signal to a level suitable for the Analog to Digital Converter (ADC). The gain knob on your interface controls this amplification. It's crucial to find the right balance here: a signal that's too weak may introduce noise when you try to increase the volume later, while a signal that's too strong risks clipping, distorting your guitar's natural sound.

Once gain staging is properly set, the next crucial part of the process is managing your recording levels. Recording levels refer to the strength or amplitude of the audio signals being recorded in your DAW. In other words, it’s about how loud the recorded audio will be.
For classical guitar, I aim for an average level (or RMS level) around -18 dBFS to -12 dBFS, with peaks not exceeding -6 dBFS. This ensures a healthy signal level without risking distortion or clipping. These values might not mean much if you're just starting out, but understanding them and using a metering tool to monitor your levels will make a big difference in the quality of your recordings.
For those of you who, like me, prefer to use an external preamp along with a separate ADC, the gain staging process involves an additional step but the principle remains the same. Using an external preamp like the AEA TRP2 or SPL Crescendo duo, allows for even more control over the tonal characteristics and the level of the signal coming from your microphones.
Once the signal is conditioned by the preamp, it then goes into a separate ADC, such as the RME ADI-2 Pro FS in my case, which converts the analog signal into digital. Adjusting the input level on the ADC is equally crucial as on the audio interface's preamp for those who use an integrated solution. The goal is the same - ensuring a healthy signal level without risking distortion or clipping, which for me is around -18 dBFS to -12 dBFS RMS, with peaks not exceeding -6 dBFS.
This might seem like an extra layer of complexity, but in my experience, the flexibility and control provided by separate high-quality preamps and ADCs can lead to even better results, and it's worth considering if you're serious about recording.
To sum up, good gain staging for a classical guitar recording involves capturing a clean signal from your guitar, through the air, into your microphones, then into your audio interface, and finally into your DAW. Each step requires careful attention, but with practice and patience, the results can be immensely rewarding.
Additional Tips for Optimal Gain Staging:

I mainly use Vovox Sonorous and Sommer Epilogue cables for a peace of mind
Starting with a Clean Signal: The quest for the perfect recording begins long before hitting the record button. I ensure that my guitar is properly set up and my strings are in good condition to minimize extraneous noise and to allow for effecient dynamics.
High-Quality Cables: Cables can often be overlooked, but they are a critical part of the signal chain. Investing in high-quality cables can prevent unwanted noise and interference in the signal.
Room Acoustics: The room's acoustics can impact the recording significantly. A quiet and sonically balanced room can help ensure a clean, high-quality recording.
Monitoring the Signal Chain: Vigilance is key throughout the recording process. By continuously monitoring the levels throughout my recording chain, I can prevent unexpected overloads or distortions and ensure the best quality recording.
Using Metering Tools for Precision
Youlean Loudness Meter is an essential tool
For those of us who want to be precise with our levels, I highly recommend using metering tools. One of my favorite tools is the Youlean Loudness Meter. This handy software allows me to monitor not only the loudness of my recording but also the dynamic range. The free version is good enough for most cases, and you can support the developers by purchasing the pro version which provides some additional features.
Maintaining Dynamic Control
Classical guitar's essence lies in its subtleties and nuances. Dynamics - the interplay between the quietest and loudest notes, crescendos, decrescendos - bring the music to life, allowing your listeners to connect more deeply.
When setting my recording levels, I always leave ample headroom for these dynamics, striking a balance so that the louder sections don't cause distortion or clipping and the quieter parts remain clear and noise-free. Remember, amplifying a quiet, clean recording is always preferable to fixing a loud, distorted one.
Additionally, transient details - quick, high-energy moments - require careful attention to avoid distortion or getting lost in the mix. Proper recording levels ensure these moments are accurately captured, adding to the richness of the final recording.
Striking the Right Tone
In conclusion, understanding and managing recording levels, along with proper gain staging, can make a significant difference in capturing a perfect performance. It can be the difference between a recording that sounds amateur and one that stands up to professional scrutiny. With careful attention to detail, patience, and practice, you'll be on your way to making recordings that you can be proud of.
Stay tuned for Part II of this series, where we'll dive deeper into the realm of audio recording as we explore the importance of levels in the post-production stages - mixing and mastering. This is where your carefully recorded tracks are polished into a cohesive, balanced, and compelling final product. Until then, happy recording!

6 Common Mistakes When Recording the Classical Guitar at Home, Part II
Part II - Post Processing
Professional sounding classical guitar at home is not a fantasy anymore or at least achieving a recording quality that is not embarrassing to share. Affordable audio interfaces, preamps and microphones have flooded the market these last decades, with increasing performance and processing power. Rooms, recording techniques and mixing are holding us back.
In the first part on the 6 Common Mistakes When Recording the Classical Guitar at Home, I tried to encourage you to try out different microphone positions and to study your room acoustics.
The second part focuses on some of the common mistakes of beginner classical guitar recordists on utilizing a proper signal chain and achieving satisfactory results in post-processing.
Mistake no.1 - Improper gain staging

AEA TRP2 Gain Knobs
The fear of clipping the converters leads some amateur recordists to use too little gain, resulting in recordings that are low in level. Without adequate signal-to-noise rations, these recordings will become noisy when any attempt is made to bring them at a normal level during mixing or playback. Contrarily, recording too “hot” will possibly clip the converters and can introduce nasty sonic artifacts to the audio. In either case, the recording will suffer from a limited dynamic range and high noise; attributes that we don't usually associate high-quality classical guitar recordings.
My advice is to aim between -6dB to -12dB as a maximum peak level (not average), per channel. Therefore, when you are happy with the placing and distance of your microphones, do a couple of test recordings, play as loud as you would normally do and set the gain levels accordingly. If you set the levels correctly, you will have a healthy and strong signal, but even if you (or another guitarist you are recording) eventually get carried away during the performance, you still have enough headroom to avoid digital clipping.
Mistake no.2 - Unrealistic panning
Classical guitar is a small instrument, radiating sound from a definite point in space. One of the worst choices you can make if you record in stereo (which you should) is to use a too wide panning. Regardless of if the listener is an audiophile type, sitting on his couch perfectly balanced in front of a pair of top-tier speakers, or a regular person listening to music with earbuds. A hard-panned left and right guitar will sound unnaturally wide and cloudy.

Proper panning of Stereo AB channels
A realistic classical guitar recording is one that creates a phantom image of the instrument right in the middle of the speakers, but with some space around it. Such recordings can remove the playback medium and transport the listener in the room with the player.
In typical AB Stereo scenarios, I pan one channel at 3 o'clock and the other at 9 o'clock. I fine-tune the panning according to the polar pattern of the microphones, how apart they are set, and the distance from the guitar.
Mistake no.3 - Limiting dynamics
Classical guitar is not the most dynamic instrument, and if anything, we should strive to capture as much dynamic range as possible (it starts from the player, so we should also prioritise dynamics in performance). Compressors, on the other hand, are designed to do just the opposite; minimize the dynamic information of an audio track by limiting the loudest notes and boosting the softest signal.
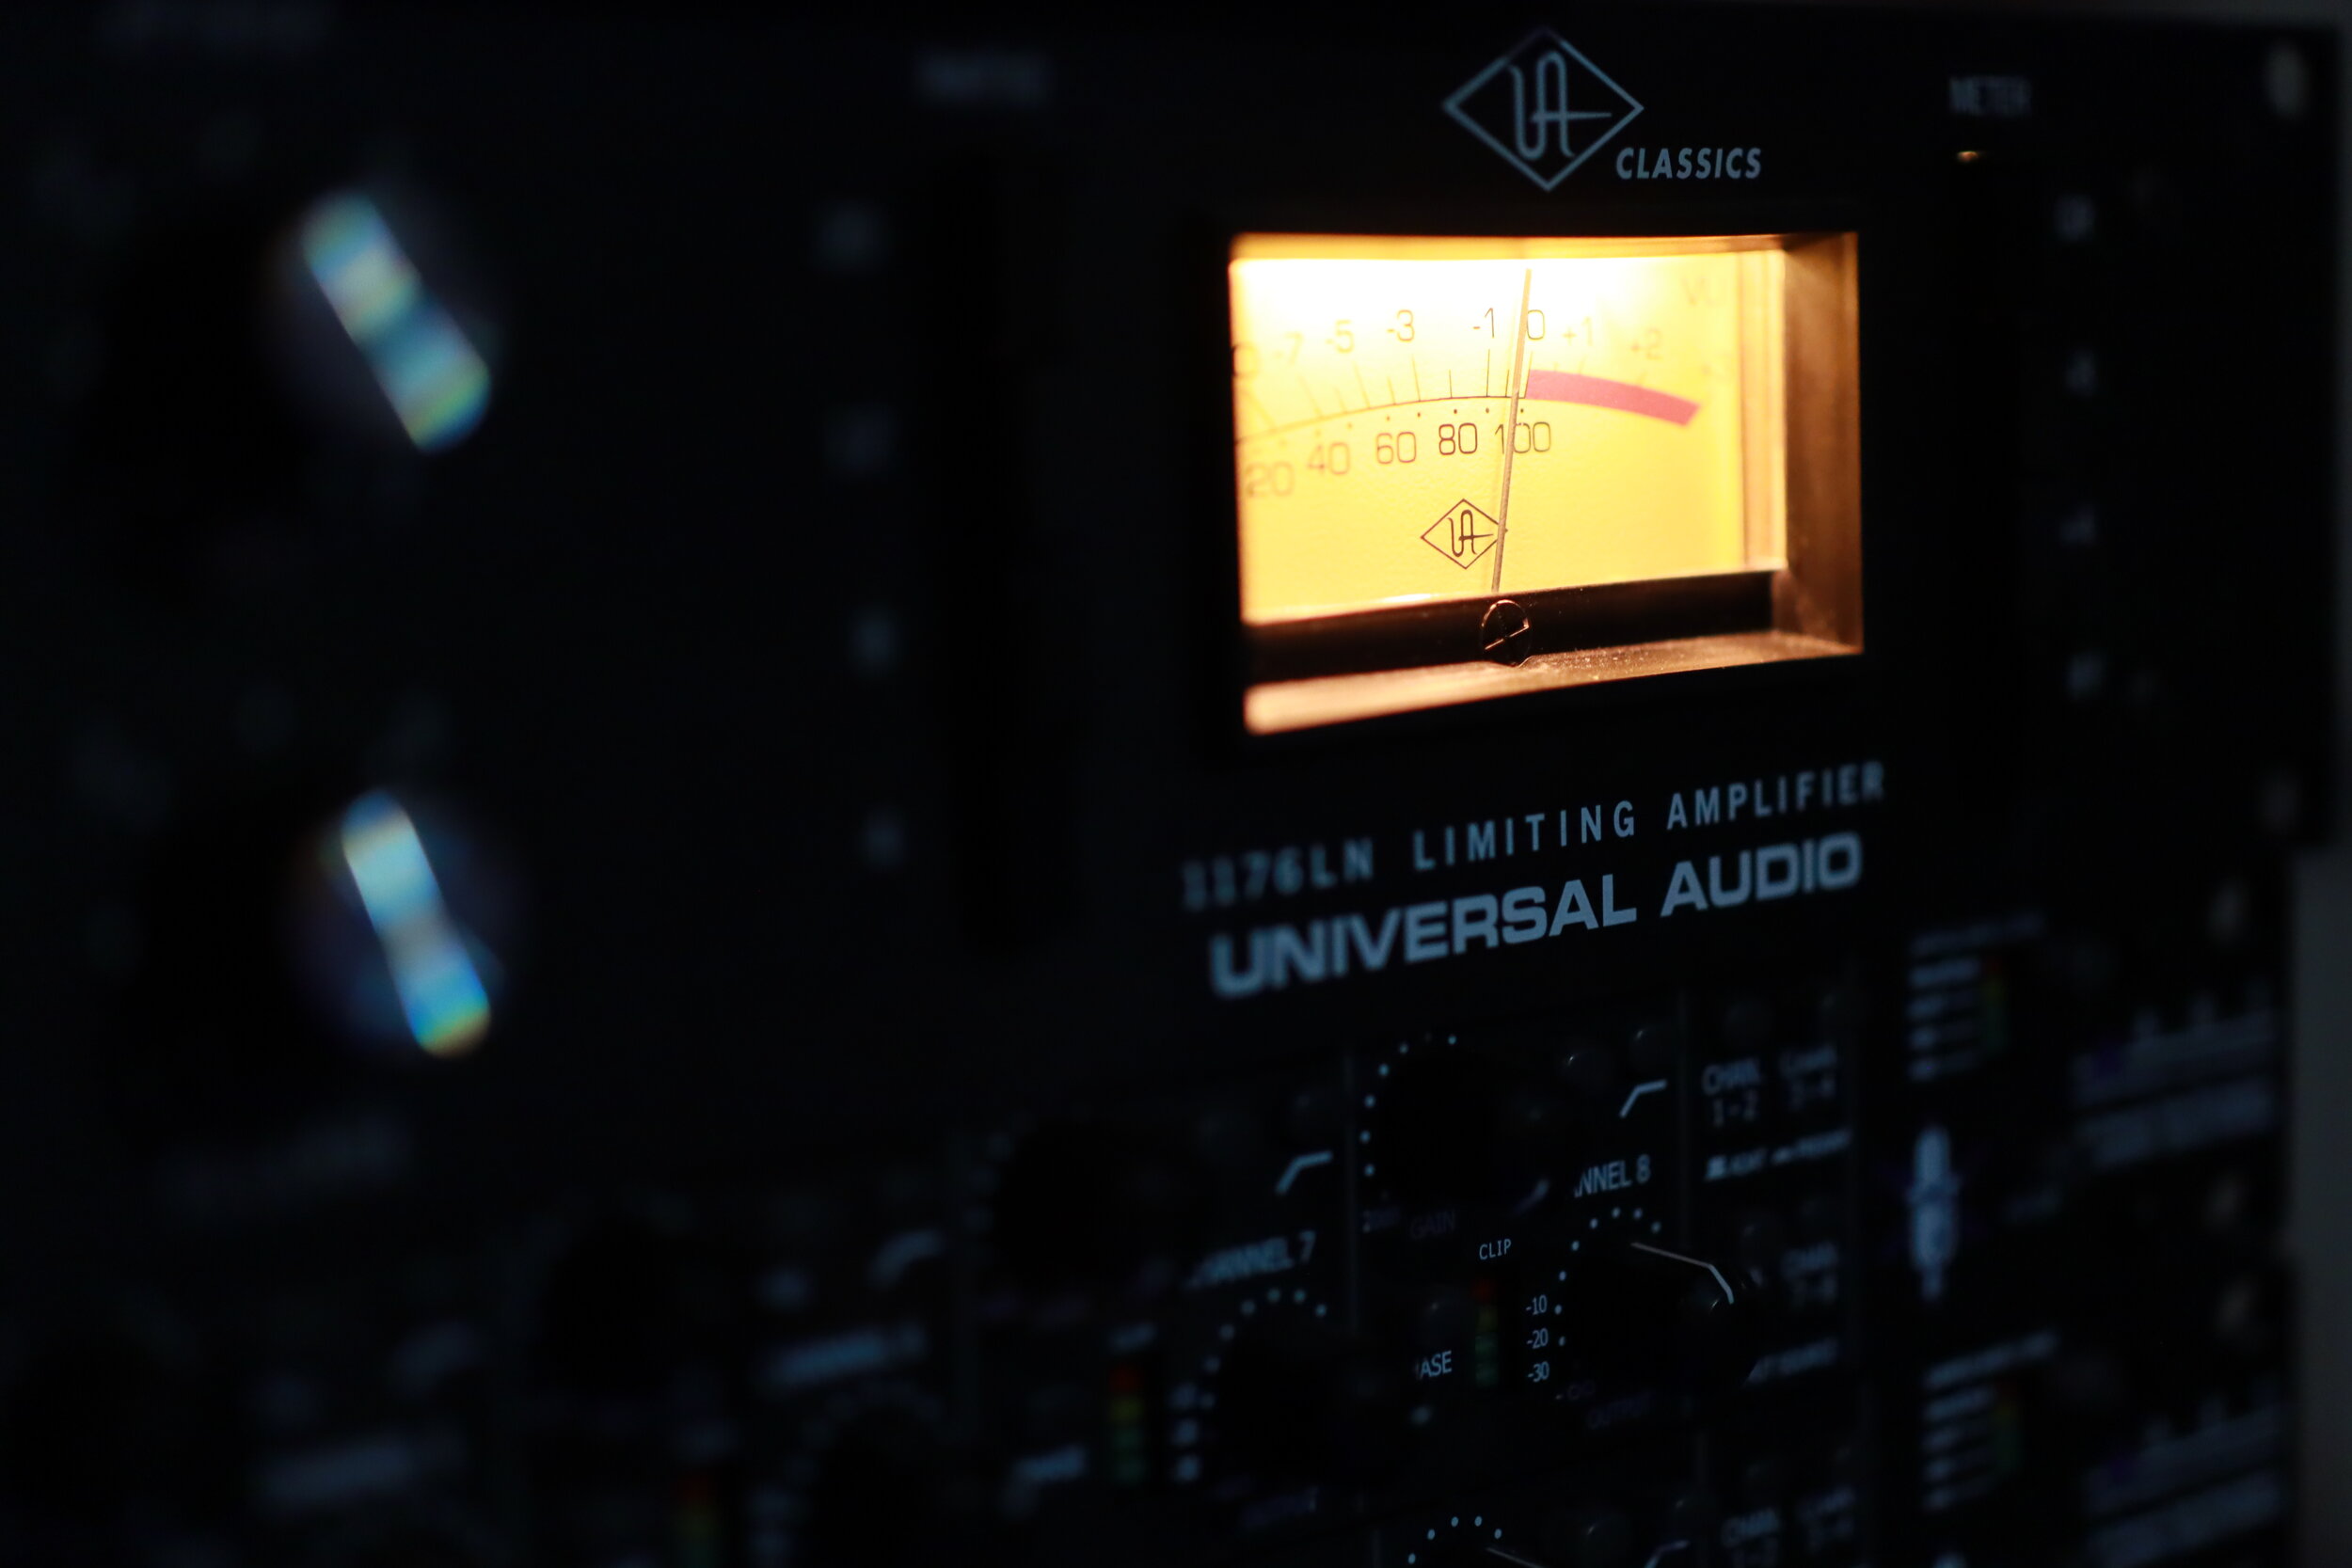
The classic Universal Audio limiting amplifier
Compressors do make the initial playback sound more exciting and powerful… for a few seconds, but in my opinion, it never pays back. Some of the problems that are introduced with the use of compressors in solo classical guitar recordings are squeezed dynamics, increased noise level and altered instrument tone.
Cross-genre guitarists employ compressors more often, as they learn that they can be invaluable in a dense mix. But I haven't found any use for dynamic limiting in a properly captured classical guitar recording.
Therefore, unless you have to deal with issues of the room or improper microphone positioning, don't use compressors on classical guitar recordings.
Mistake no. 4 - Being afraid of using filters

High-pass filter’s switch on an Austrian Audio OC18
Many microphones feature high-pass filters, the most common are 40Hz, 80Hz and 120Hz; the same is true for some dedicated outboard preamps. But many beginner recordists are afraid to take advantage of them. The truth is that in the context of the classical guitar, not much musical information is presented at the low-end frequencies. Most of what is below around 80Hz is unwanted room rumble and weird resonances; therefore by attenuating them, we end up with a cleaner recording. Capturing what is essential and leaving out the rest.
As low frequencies can have a lot of energy, it is preferable to cut undesirable low-end before the signal hits the converters, if possible. This tactic allows us to set the gain and levels appropriately and leads to better signal-to-noise ratios. But even if your microphones or preamps don't have any filters, you can still apply a high-pass filter in your DAW to remove non-essential information.
I also like to use a low-pass filter to remove high-end information that is inaudible, so that my audio consists of only the frequencies I can hear. A gentle roll-off of the low (below 50Hz) and high frequencies (above 18000Hz) is a good starting point. An EQ plugin with these basic filters is the first plugin I load on every track. You can read more on the article Three Most Essential Plugins for the Classical Guitar.
Mistake no.5 - Not learning how to use an equalizer
Other than the low- and high-end unwanted information that we can simply remove with the appropriate filters, undesirable resonances can occur in the audible range as well. These can be caused by the imperfect rooms that we are recording in, our instruments or our technique. Obnoxious resonances can and will distract the listener.
Learning how to use an equalizer to detect and attenuate or eliminate such issues will make the listening experience much more pleasurable.
The best way to identify an offending frequency is by using your ears. I know that this doesn't sound like great advice, but keep reading. When you detect something that you don't like, add a bell-shaped point on your EQ with an extreme boost and search through the suspected range, like dialling in an analogue radio.
Once you find the irritating frequency, the sound should be quite disturbing at that point, apply a notch or a generous cut with a narrow Q. Toy around with the Q value to find the sweet spot; a setting that makes the problematic sound disappear but lets the rest of the audio unaffected.
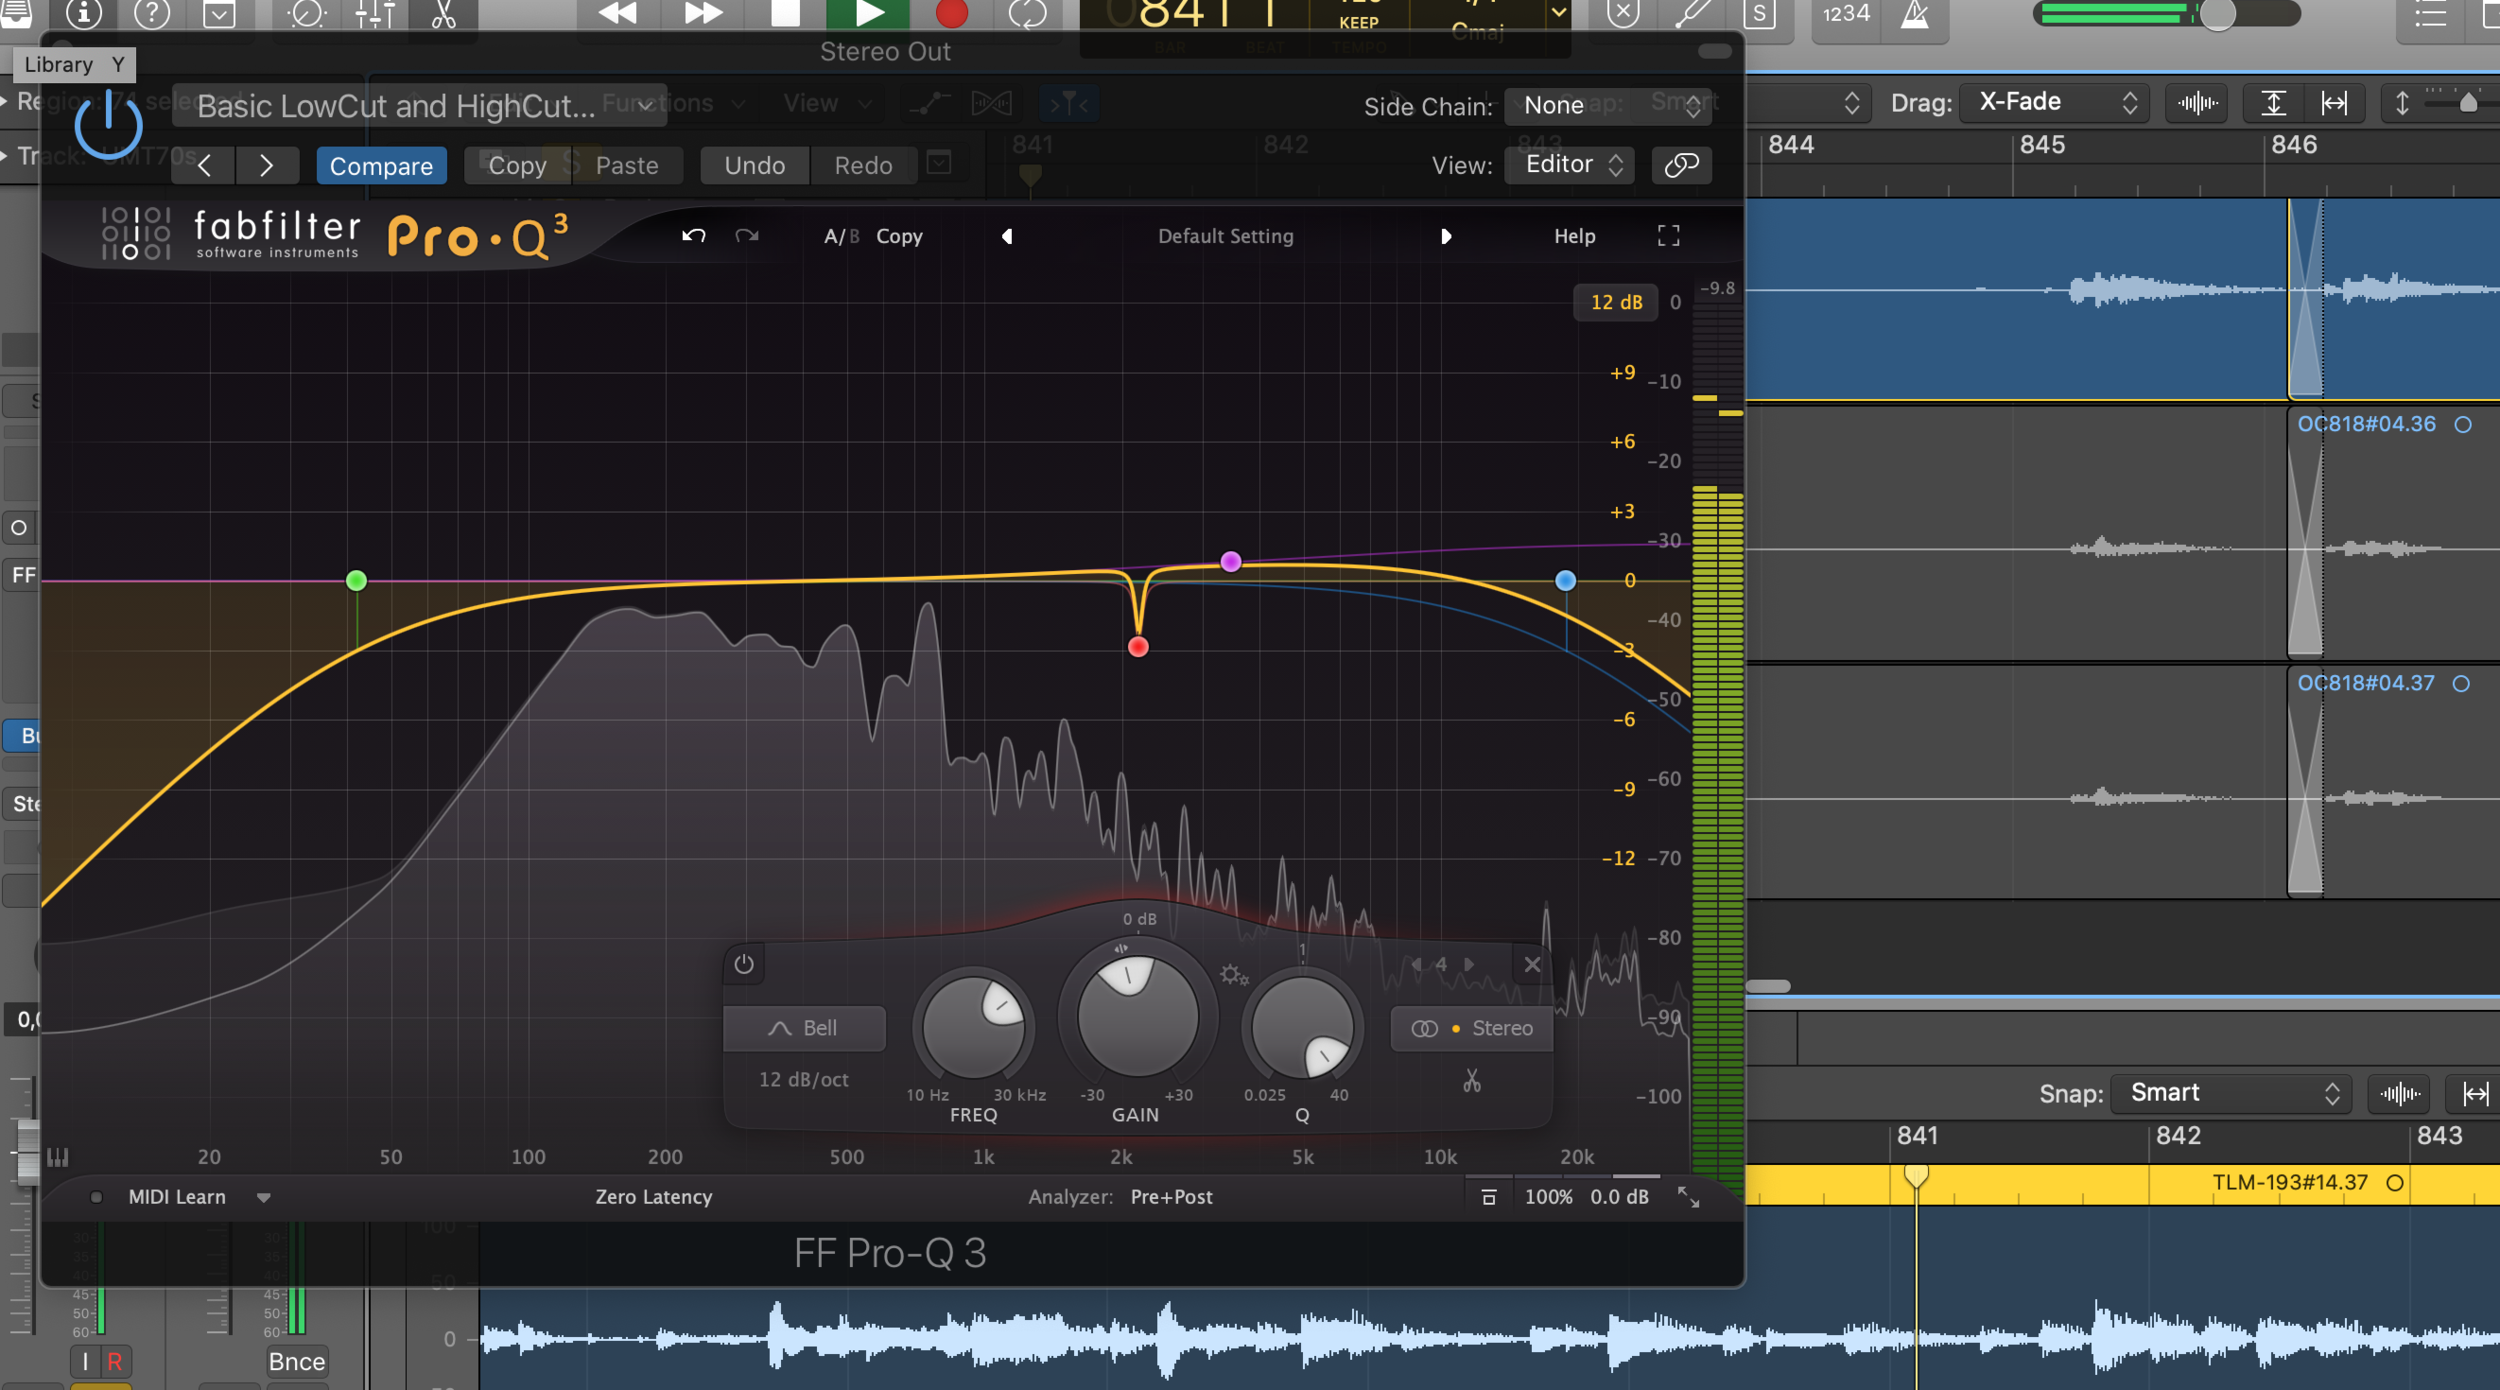
FabFilter Pro-Q 3 with HP & LP Filters, a narrow Q Cut and a High Shelf Boost
Another use for an EQ is to change the overall balance of the recording. Sometimes you'd prefer a slightly fuller recording, or there is just a bit too much low-end. Perhaps the treble is a bit piercing, or you'd like to add some more clarity and articulation. Making gentle adjustments like these are generally uncomplicated with the use of Low or High Shelf adjustments. Just a couple of dB's can make a drastic difference to the evenness and impact of our music.
Just be careful not to overdo it, and always compare your mixes to your favourite recordings.
Finally, you can also use an equalizer to completely change the sound of an instrument and shape it to your liking. But if you've been diligent with the microphone positioning, and you like your guitar sound, you won't have to.
Mistake no.6 - Too much reverb

Placing the music into an artificial hall is a necessary lie
As I write on the Three Most Essential Plugins for the Classical Guitar article, nothing will affect the listener more than the physical space that the music takes place.
When we record at home, most rooms are not interesting enough, and so we need to enhance their sound with artificial reverb. But it is easy to overuse reverb, as it makes everything sound "better". Or so we think when we first enter the home recording world.
Most beginner recordists tend to choose a random church preset without any consideration to requirements of the music, tempo and other aesthetic choices. The result is a flood of unnatural and unattractive recordings which instead of sounding realistic or enchanted, they feel cheap.
Learn how the Time, Size and EQ settings found on your reverb plugin of choice to fine-tune the sound the ambience. Then turn down the Mix a little bit more than what you think it should be. Lastly, compare your efforts to commercial recordings (not that those are not guilty of overusing fake church algorithms).
Closing thoughts

Proper mixing can turn a decent recording into a great one
I hope that this article will make you more conscious of your post-processing choices. I need to write dedicated articles for the use of equalizers and reverb as there is a ton of things to discuss.
I know that many guitarists don't want to fuzz around with plugins, but proper audio processing can transform a recording. Mixing is an art in itself; a necessary evil that can turn a decent recording to a great one. Quality classical guitar recordings are important for your audience and benefit the classical guitar community as a whole. Thus, it's definitely worth the time and effort to learn how to mix your audio. Alternatively, you may search for someone else to do that for you.
Tip: You don't have to mix every track from scratch; after all, you probably record the same instrument with the same microphone technique and in the same room all the time. Create a template in your DAW with your basic panning, filter and reverb settings. You'll still have to tweak around a bit, as not every piece favours the same settings, nor every day is the same. Templates are great time savers.

Audient iD14 USB Audio Interface Review
Audient's renowned console preamps on your desktop
The introduction of the iD22 was a huge success for Audient. It combined preamps ported from their expensive consoles, pristine converters, a monitor controller and enough connections to satisfy even the most demanding users. With the iD14, Audient promises to deliver the same quality, into a small, affordable audio interface and accomplishes that by stripping down the device to the bare essentials.
Minimalist appeal
The iD14 is housed in a slim all-metal body with a minimalist design and classy aluminium knobs. It doesn't only look beautiful on any desktop but is robust enough for travelling and location recordings.

An all-metal no nonsense design.
A big encoder knob controls the speaker or headphone output, an illuminated button is in charge of the switch. By pressing down the encoder, the selected output is muted. There is another button for DIM (lowering of the output level) and a user-defined software controlled function key. The physical controls on the iD14 are very intuitive, and all the knobs and buttons have a satisfying feel to them.
The two excellent discreet Class-A mic-preamps have 56dB of gain, with an extra +10dB boost and polar switches available in the software mixer. A high-pass filter, similarly to the iD22, would have also been welcome. My biggest gripe though is that the gain pots are practically usable only about at the last third of their travel. There is not enough juice until then, then they jump in gain even with the slightest turn of the knob, making it difficult to set the levels perfectly.
There is an ADAT input which can accommodate eight additional inputs for bigger projects, but, due to the limitations of that protocol with only a maximum sample rate of 48KHz. The higher sample rate of 96KHz for the extra channels can be attained when only four additional digital inputs are used.

DI and Headphones plugs are easily accessible.
In the front side, there is a high-quality JFET instrument input as well as one headphone output. I like that these are located there, as I usually like to plug-in various headsets.
Capturing Tones
The mic preamps have plenty of clean gain. The sound manages to be transparent, with some added thickness and warmth to the body. The highs are smooth and show a slight boost. The iD14 captures a classy, transparent but not sterile capture that compliments most sources. The DI is excellent as well, designed to emulate the sound of tubes, and I have used it with great success.
The conversion quality in unforeseen for an interface of this price, the speakers output is quite revealing, making precise EQ and reverb adjustments a breeze. The headphone output it looses some of the clarity but is decent enough for the project studio.
For those who like to work on the go, the iD14 can be powered via USB from your laptop, Audient claims that to achieve that, the conversion had to be a step down from their flagship models. That shouldn't be a concern though, as the iD14 sill delivers a joyful, engaging playback. Unfortunately, you need to plug into the mains power to activate the +48 phantom.
Lastly, the output metering ladder has eight pairs of LEDs, but sadly there is no way to check the preamp input level on the device. You can still see the levels in the software mixer, but considering that the interface is marketed towards project studios, having more visual meters on the box would have been more practical.
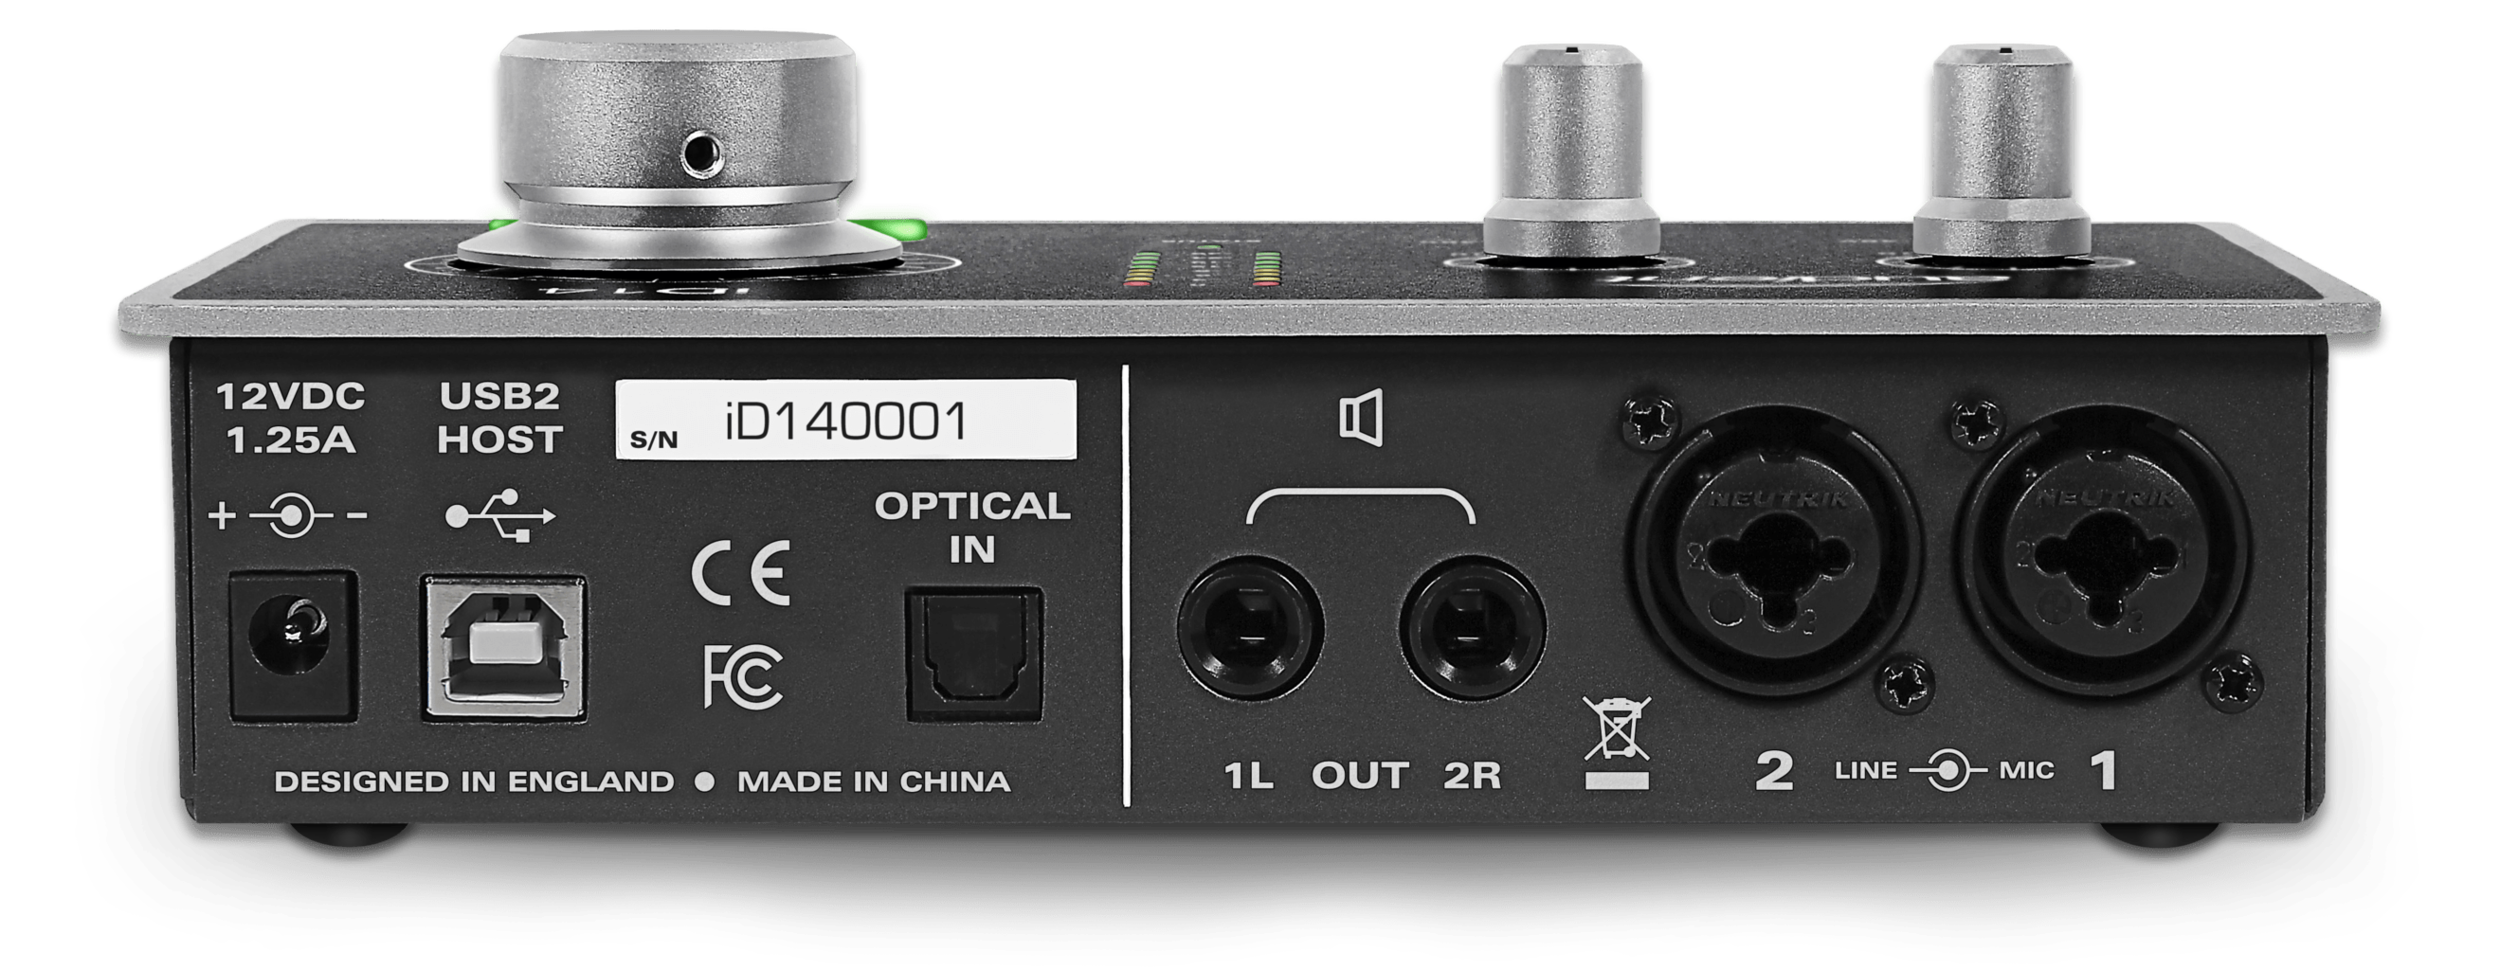
I/O connections.
Putting that aside, I have used the iD14 numerous times. I have recorded classical and electric guitars, cello, various female and male voices, as well as solo piano and a piano trio on location. It always delivered an excellent sound with stable operation.
Life in a digital world
The software mixer has a nice-looking modern UI and follows a similar spartan approach to the physical unit, allowing access to some basic and advanced settings of the iD14. The most important feature is the ability to wire the input directly to the speakers for zero-latency monitoring while mixing it with the playback from the computer. The ability to create different CUE mixes for the headphones and the speakers is also neat.
Samples with the iD14 from my residency in Lithuania
Bare bones finesse
With the iD14, Audient strips away all the non-essential functions while still retaining the core qualities of its bigger siblings to deliver a high-performance interface to the project studios.
Alternatives
If you are happy with the features, nothing can beat the iD14 at this price range. Focusrite Clarett 2pre USB has a similar feature-set, with better conversion, but at a higher cost.
Pros
Excellent sounding preamps
Impressive converters
Robust build
An intuitive, uncluttered UI
Price
Cons
Gain knobs too jumpy at the last third of the turn
No input-metering on the device
Lack of high-pass filter

Neumann TLM 102 Microphone Review
The Neumann TLM 102 is a small, elegant and affordable condenser microphone with an open character, a silky high-end, low self-noise and a distortion-free operation.
A true Neumann for the project studio.
The Neumann TLM 102 is a small, elegant, and affordable condenser microphone with an open character, a silky high-end, low self-noise and distortion-free operation.
Inspection
The TLM 102 is a large-diaphragm, transformerless capacitor microphone with a fixed-cardioid polar pattern. The lack of pad and filters implies a bare-bones design, allowing Neumann to bring the costs down without compromising on the sound.
A relatively small and edge-terminated diaphragm puts it towards the more natural Neumann microphones, and with an SPL tolerance of 144 dB, the TLM 102 is a foolproof candidate for capturing gracefully almost everything.

Neumann badge indicates the front side of the microphone.
It has a classic Neumann design available in a black or nickel matte finish. I have the nickel mic and I find it very stylish, the black one looks just as beautiful. The microphone is engineered to perfection, the chrome ring below the basket and red Neumann badge, give it a classy retro-industrial look. With a tiny size and a weight of approximately 210g, placement is a child's play.
The TLM 102 ships in a foam-lined cardboard box (another cost-cutting move from Neumann), a departure from the usual luxurious wooden box, but it securely fits snug the microphone and stand-mount or shock-mount. The box is sufficient for storage, but I wouldn't use it for travelling.
The frequency range of the TLM102 is flat up to 6kHz, where a slight presence boost kicks in. This adds a touch of brilliance without ever sounding harsh or shrill. It has a relatively low input noise of 12dBA and a moderate sensitivity, allowing it to capture with blooming detail even nuanced delicate instruments.
A high-pass filter could have been useful, as the microphone is sensitive even to the very low frequencies. Engaging one on the preamp or DAW can be sufficient though.

Flat frequency response with a slight presence boost for silky highs.
Investigation
On a classical guitar with the mic opposite of the bridge, leaning slightly inwards towards the sound-hole, and at the distance of around 50 cm. The TLM 102 sounds glorious, with full-bodied lows and mids, and a pleasing high-end, with no sign of harshness. The slight high-end boost contributes to an added clarity, but unlike many budget condensers, it doesn't emphasize unwanted mechanical sounds of playing the guitar.
Newly designed shock-mount with a cut for closer positioning.
I tried the TLM 102 on a brilliant cellist, another instrument that is quite difficult to record convincingly. The tiny Neumann retained its well-behaved nature and clear capture.
On female voices, the proximity boost in the low-mids together with the relatively natural highs of the TLM 102, bring a smoky, almost old-fashioned character. When used on male voices, the microphone provides a thick and rich timbre that allows. The TLM 102 can complement a variety of voices, it always retains its rich and full personality.
Diagnosis
The grille incorporates a dense pop screen, effectively reducing plosives.
After owing a TLM 102 for a few years, one trait remains consistent, this microphone exhibits a strikingly clear-sounding capture but shows enough temper to complement most sources. A pretty desirable attribute, especially for the project studio, as many home recordists will probably use one microphone to record almost everything.
Alternative
At the same price, the Miktek C1 offers a similar natural character with a silky high-end. The Neumann TLM 107 is an excellent alternative if you don't mind spending more, as it offers a similarly natural and smooth capture, with even less self-noise, and added versatility with its 5 polar patterns.
Pros
Full and rich character
Silky highs
Price
Size and weight
Cons
No High-pass filter
Cardboard box